
www.SpeedoFixer.co.uk
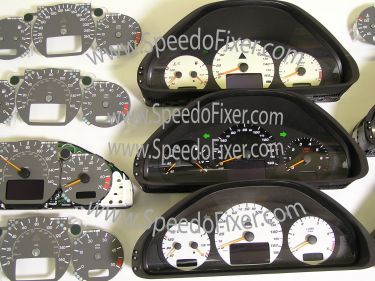
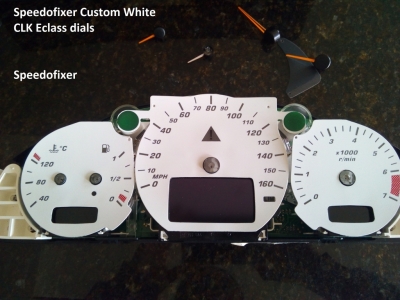
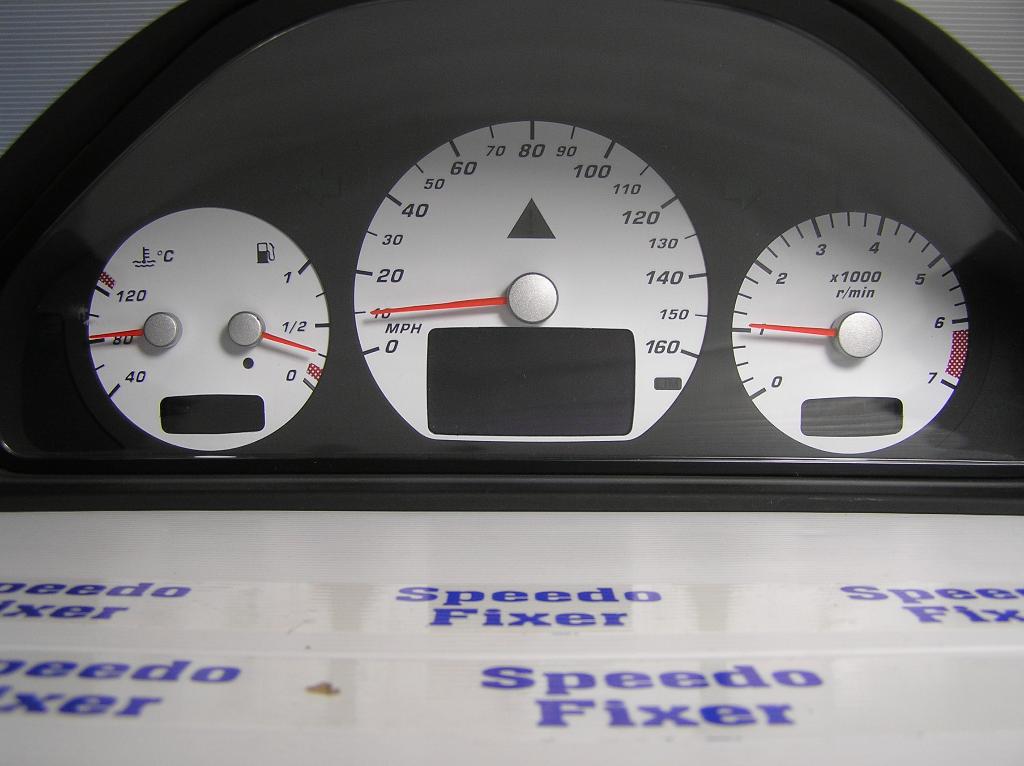
Photo gallery here Photograped Below: White dial kit, & optional needles colored and hubs in silver
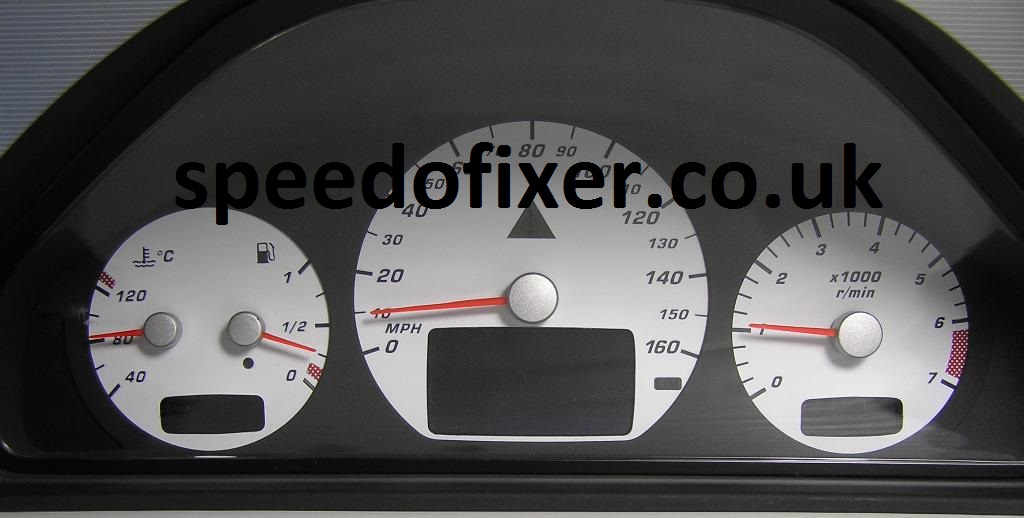
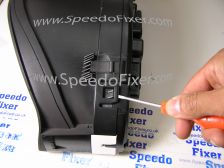
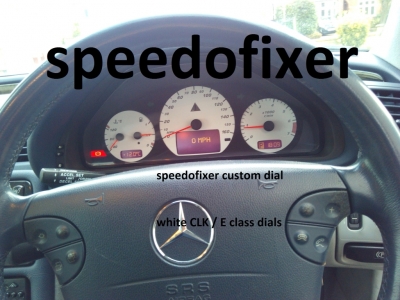
www.speedofixer.co.uk Below: How speedometer looks to start with
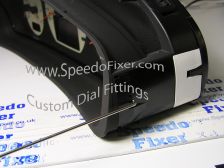
Below : Speedofixer Black custom dial kit
www.speedofixer.co.uk
www.speedofixer.co.uk
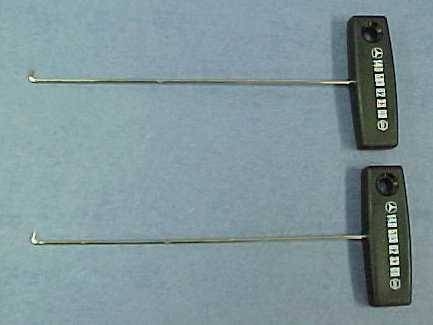
Below: ready to refit needles
www.speedofixer.co.uk
.
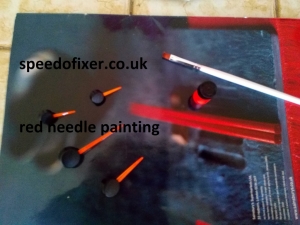
Below: white dial fitted with red needles and silver hubs
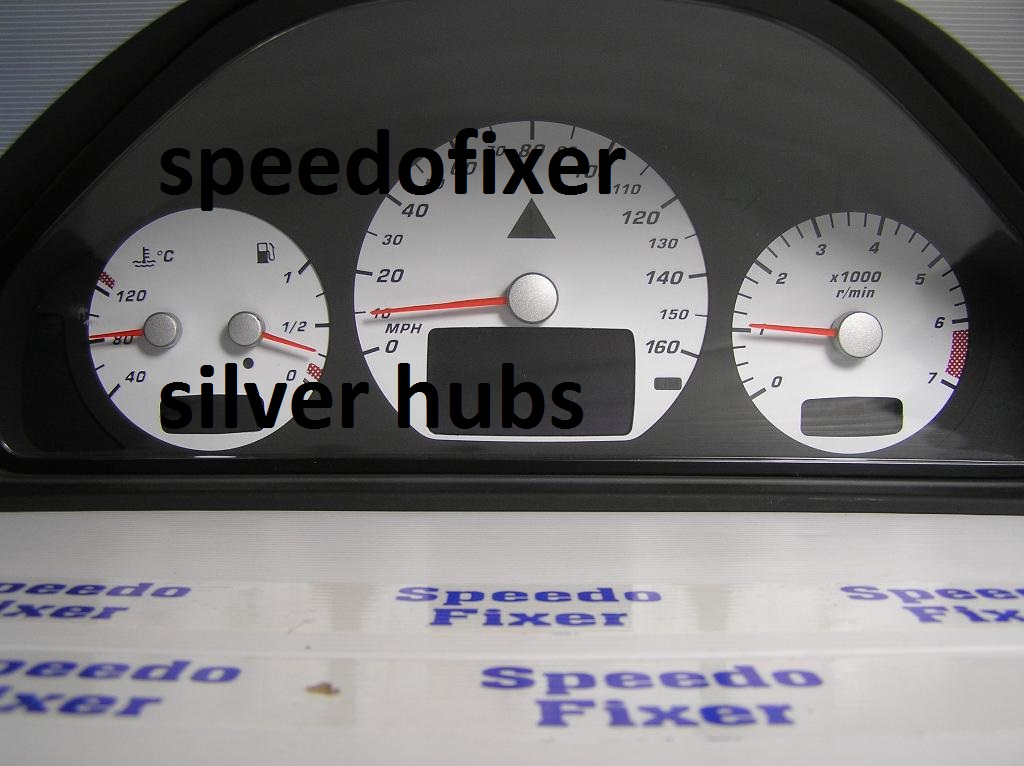
Above needles colored red and hubs sprayed silver
www.speedofixer.co.uk 5/7/15
www.speedofixer.co.uk THANK YOU FOR BUYING THIS PRODUCT - speedofixer team
Tel: 07960 286 476 info@speedofixer.co.uk 3/3/16 |


| Visitor Counter: | |||||||
 |  |  | |  | | ||